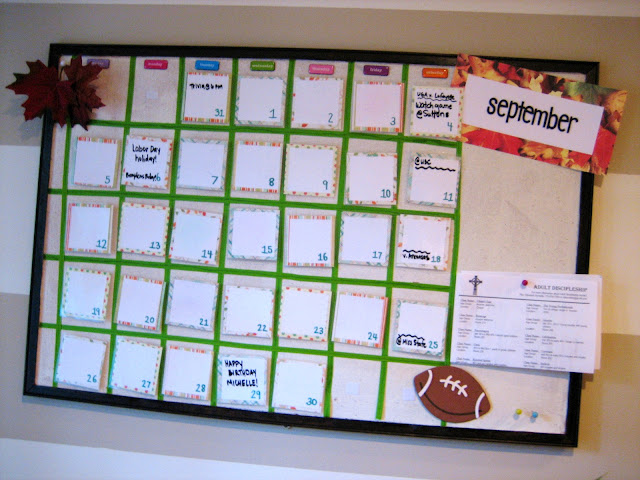
Have you ever completed a project around your house and then realized it just didn't work for you? Yup, it's happened to me many a time. But my most recent victim was the DIY knock off Pottery Barn calendar I created a couple of years ago. It was such a great idea... velcro + laminated cardstock + ribbon... the perfect way to keep my household organized. Check out my tutorial here.
But sometimes, cute isn't useful. I looked at the calendar the other day and realized we hadn't updated it since... October. Hm. Maybe it wasn't really an efficient tool for our house! Time for an update.
Without much of a game plan, I ripped off all of the ribbon and Velcro pieces. Unfortunately, that peeled off a layer of cork board in many places. Wah. I knew then I had to cover it. Since I had already promised myself I wouldn't spend any money on this project, I hit up my scrap fabric stash for something lovely to cover the cork board with. How about some beautiful linen?!
I've seen so many wonderful tutorials where bloggers cover entire cork boards with fabric, but since I took the time originally to stain the wooden frame of the board, I decided not to cover the frame, but just the cork board itself. First, I painstakingly measured and cut the fabric to fit over the white cork board. It might not be painstaking for you, but I am terrible at measuring and cutting fabric. Don't forget to iron your fabric before you cut it!
Next, I simply sprayed the board with adhesive (after covering the frame with painters tape- the over-spray on spray adhesive is a bear!) and slowly laid the fabric down. My suggestion is to only spray about half the board at a time, so you aren't working with one big sticky mess. Oh and yes, this crazy pregnant lady wore a mask while spraying aerosol : )
Because (ahem) my measurements weren't perfect, the next step for me was to tuck the fabric into the wooden trim of the cork board. A tiny flat head screwdriver did the trick perfectly.
You may still have to cut or trim the frayed edges (especially if you use a fabric like linen), but overall, I think the cork-to-fabric process looks pretty clean!
So far, I loved the board. But it needed a little something something, don't you think?
I ran (okay, more like waddled at 6.5 months pregnant) back over to my scrap fabric stash and decided to whip up a few fabric pockets on my sewing machine. Yes, folks. This makes my second project on the sewing machine. (The first being my DIY baby burp cloths). Call me a sewing pro.
All I really did was cut some fabric and then folded it in two, sewing a simple stitch along the edges. Of course, leave a gap at the top so you can actually put things in the pocket! You could probably use hem tape to make this as well, if you're not into sewing. Simply turn the fabric backwards (patterned sides facing each other) and iron the hem tape around the edges. Then fold inside-out and boom... you've got a no-sew pocket!
I'm pretty happy with my new memo board. And it's already got a lot more use out of it than the old calendar did.
Yes, those are little pea pod ultrasounds up on the board! We've been storing them away in a drawer the last few months, so it feels great to get them up on the memo board for show. He's such a cutie.
I think it's the perfect addition to my office gallery wall, don't you? It's been awhile since I played with that wall (last thing I added was the DIY nailhead trim art), so it was time! Oh, and you'll notice that our beloved paper mache deer head is no longer on this wall... ol' Sally met her demise last month when she fell off the wall in the middle of the night. A DIY tragedy, for sure.
Updated any projects around your house lately?
Sharing with Courtney at A Thoughtful Place


.jpg)